If there’s one Spearhead that’s completely won me over, it’s the Slaves to Darkness Bloodwind Legion. After just one game, I knew I had to add it to my collection, and it’s quickly become a favorite for its sheer strength and the fun it brings to the table.
Curious about how the Bloodwind Legion stacks up overall? You can find their full ranking and see where they land on our Spearhead Tier List right at the start. Dive in to explore the full picture!
What Makes the Bloodwind Legion So Special?
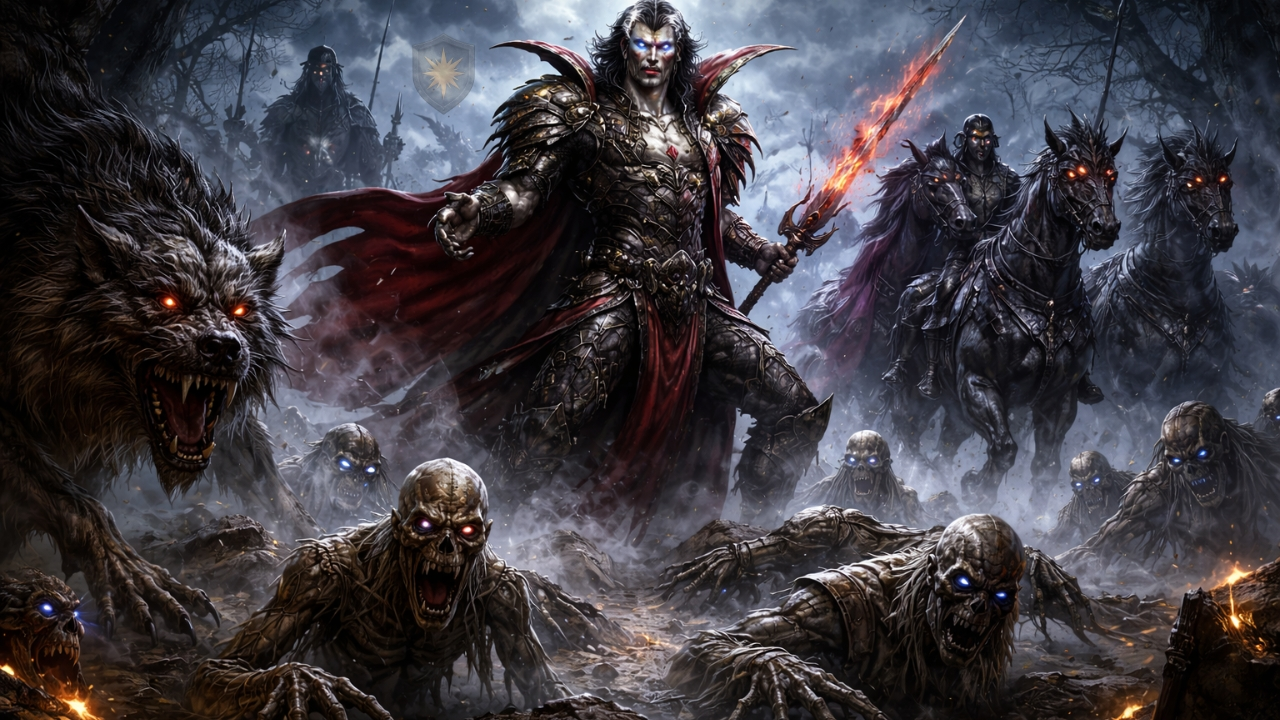
The Bloodwind Legion is all about the raw, relentless power of Chaos. It’s led by a formidable Chaos Lord and includes a Chaos Chariot, two units of Chaos Warriors, and a unit of Chaos Knights. This Spearhead is designed to showcase the might of Slaves to Darkness, and it doesn’t disappoint.
The Chaos Lord: The Favored Champion
At the center of the Bloodwind Legion is the Chaos Lord, a warrior on the cusp of daemonhood. He’s equipped with a deadly Reaperblade and can gain blessings through the Eye of the Gods table, turning him into an even more formidable force. His abilities inspire and empower his troops, making him the keystone of the army.
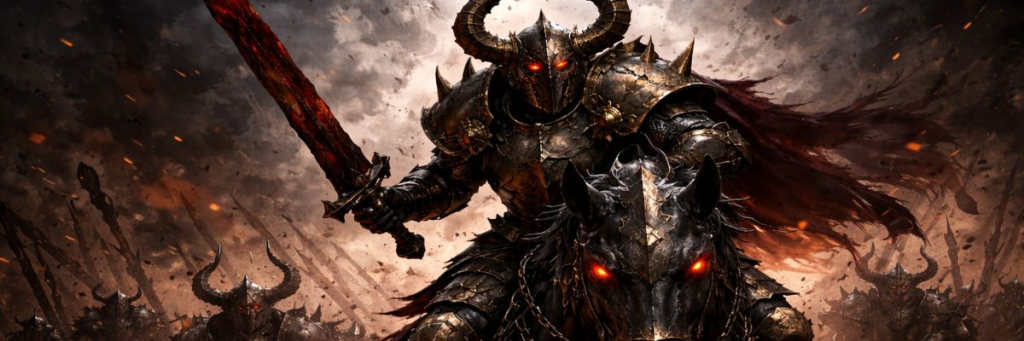
Chaos Knights and Warriors: The Hammer and Anvil
The Chaos Warriors are your resilient backbone, holding objectives and cutting down foes with ruthless efficiency. Meanwhile, the Chaos Knights are your shock troops, arriving with the Dreaded Arrival ability to smash into enemy lines and change the course of battle. The combination of their Impaling Charge and the support of the Chaos Lord makes them a nightmare for opponents.
The Chaos Chariot: A Swift Engine of Destruction
The Chaos Chariot adds speed and impact, using its Swift Death ability to mow down enemies and create openings in enemy lines. It’s the perfect tool for breaking through and causing chaos exactly where you need it.
Playing with the Bloodwind Legion: Strategy and Fun
What makes this Spearhead so enjoyable is the constant sense of escalation. The Eye of the Gods table means your units are always growing stronger, and the Marks of Chaos let you customize your general to suit your playstyle. Whether you want extra rend, strike-first abilities, or added resilience, there’s a Mark for that.
In the end, the Bloodwind Legion is more than just a strong list—it’s a Spearhead that feels like a true representation of Slaves to Darkness. It’s powerful, it’s thematic, and it’s an absolute blast to field. If you’re looking for a Spearhead that will keep you engaged and give your opponents a run for their money, the Bloodwind Legion is a perfect choice.
The Hidden Power of the Dreaded Arrival Ability
One of the standout abilities of the Bloodwind Legion is the Dreaded Arrival of the Chaos Knights. On the surface, it might seem like a disadvantage that they don’t start on the board until the second round. In reality, it’s a massive advantage that many opponents won’t see coming.
Here’s why: armies that rely on a strong alpha strike—those that hit hard in the first turn to cripple you—simply can’t do that to the Bloodwind Legion. Why? Because your most powerful unit, the Chaos Knights, isn’t even on the table yet.
This means that after your opponent has thrown everything they have at you in that first turn, you still have a fresh, devastating hammer waiting in the wings. On round two, your Chaos Knights arrive from the battlefield edge, and you can swing them right into your opponent’s weakened lines. They’ll never see it coming.
In short, the Dreaded Arrival is more than just a thematic ability—it’s a strategic advantage that turns a potential weakness into a game-winning strength. It ensures that you always have a powerful counterpunch ready to go, and it makes the Bloodwind Legion even more resilient and dangerous in a Spearhead game.
Playing the Bloodwind Legion: Lessons Learned After Three Games
After three games with the Bloodwind Legion, I can confidently say this is a very strong Spearhead, but it’s not one you can play on autopilot. The army rewards patience and positioning just as much as aggression.
The Dreaded Arrival ability is both a strength and a potential trap. In one of my games, I took the first turn and committed far too hard, pushing aggressively up the centre and charging everything in sight. By the end of round one, most of my forward units were dead, and when the Chaos Knights arrived in round two, they came on with no real support.
I nearly managed to claw the game back to a draw, but the damage was already done. With limited board control and isolated units, the Knights simply couldn’t win the game on their own.
The key lesson is this: if you take turn one, you need to play slow. Avoid overcommitting, stay out of dangerous trades, and keep your army intact so it can function as a cohesive force when the Knights arrive. Dreaded Arrival protects your most powerful unit during round one, but if the rest of your army collapses, that protection doesn’t matter.
Used correctly, Dreaded Arrival is excellent. It almost guarantees a charge in round two unless you roll exceptionally poorly, and it denies your opponent the chance to alpha strike your biggest threat. Just remember that the Bloodwind Legion wins through timing and pressure, not reckless aggression.
Eye of the Gods: The Engine Behind the Bloodwind Legion
One of the defining mechanics of the Bloodwind Legion is Eye of the Gods, and it plays a huge role in how the army scales throughout the game.
Eye of the Gods triggers when a unit either:
- Contests an objective not controlled by your opponent while not in combat
- Destroys an enemy unit during the turn
When triggered, you roll on the Eye of the Gods table and permanently gain the result for that unit. These effects stack over the course of the game, creating a powerful sense of escalation as your army earns the favour of Chaos.
Eye of the Gods: The Engine Behind the Bloodwind Legion
One of the defining mechanics of the Bloodwind Legion is Eye of the Gods, and it plays a huge role in how the army scales as the game goes on.
Each turn, you can roll on the Eye of the Gods table for a friendly unit that:
- Is contesting an objective not controlled by your opponent and is not in combat
- Or destroyed an enemy unit that turn
When you roll, the result is permanent for that unit. These abilities stack over the course of the game, meaning the Bloodwind Legion becomes more dangerous the longer the battle lasts.
Eye of the Gods Table (D6)
1 – Snubbed by the Gods
No effect.
2 – Ward of Tzeentch
This unit gains a 6+ ward.
3 – Grace of Slaanesh
Add 1 to run rolls for this unit.
4 – Blessing of Nurgle
Subtract 1 from wound rolls for attacks that target this unit.
5 – Fury of Khorne
Add 1 to the rend characteristic of this unit’s melee weapons.
6 – Champion of Chaos
Pick any ability from the table.
If a unit gains the same result more than once, the effects are not cumulative, but the flexibility of rolling a 6 and choosing exactly what you need can be game-changing.
Eye of the Gods strongly rewards smart, measured play. Holding objectives safely, finishing off weakened units, and choosing when to commit all feed directly into this mechanic. Over time, your units become tougher, hit harder, or gain better mobility, giving the Bloodwind Legion a powerful sense of momentum that few other Spearheads can match.units, you’re actively building momentum with every successful turn.
Common Mistakes to Avoid with the Bloodwind Legion
Even though the Bloodwind Legion is extremely strong, there are a few mistakes that can cost you games if you’re not careful.
The biggest mistake is overcommitting in turn one. It’s very tempting to rush forward, charge aggressively, and try to overwhelm your opponent early. If you do this and lose too many units before round two, your Chaos Knights can arrive with no meaningful support, leaving you with poor board control.
Another common error is treating the Chaos Knights as a solo win condition. While they hit incredibly hard, they cannot win the game alone. The Bloodwind Legion works best when the Knights arrive into an already pressured battlefield, not when they are expected to carry the game by themselves.
Finally, don’t waste Eye of the Gods opportunities. Holding objectives safely and finishing off weakened units is often more valuable than risky charges. Playing patiently lets your army scale in power while denying your opponent easy trades.
Turn 1 vs Turn 2: How to Make the Right Call
Deciding whether to take the first or second turn is one of the most important choices when playing the Bloodwind Legion.
Taking Turn One
If you go first, your goal should be board positioning and survival, not aggression. Move up cautiously, contest objectives where it’s safe, and avoid dangerous engagements. You want as much of your army alive as possible when round two begins and the Chaos Knights arrive.
Turn one is about setting the stage, not winning the game.
Taking Turn Two
Going second can often be the stronger option. Your opponent is forced to commit first, while your Chaos Knights remain protected off the board. This can blunt alpha-strike armies and leave your opponent exposed when your Knights arrive fresh in round two.
In many matchups, going second gives you better counterpunch potential and more control over how the mid-game unfolds.
Why the Bloodwind Legion Is S Tier
Why It’s S Tier
- Exceptional durability through Chaos Warriors and Eye of the Gods scaling
- A devastating delayed hammer in the Chaos Knights via Dreaded Arrival
- Strong objective play combined with late-game pressure
- Protection against alpha-strike armies
- High skill ceiling that rewards patient, tactical play
Even with the inherent risk of Dreaded Arrival, the Bloodwind Legion earns its S Tier placement through consistency, resilience, and its ability to swing games decisively in rounds two and three. When played correctly, it forces opponents into mistakes and punishes them hard.
Where the Bloodwind Legion Sits in the Spearhead Tier List
Based on multiple games and consistent performance, the Slaves to Darkness Bloodwind Legion earns a clear S Tier placement in my Spearhead Tier List 2025. Its durability, delayed power spike through Dreaded Arrival, and scaling strength from Eye of the Gods make it one of the most reliable and dangerous Spearheads in the format.
If you want to see how the Bloodwind Legion compares to every other Spearhead in the game, including recent errata updates and tier changes, you can find the full breakdown here:
This tier list is kept updated as balance changes and new Spearheads are released.